Configuration Guide How to Register and Set Up an Omada Cloud Essential Controller?

This Article applies to:
Omada Cloud Essentials Controllers
Omada Devices Supported by Omada Cloud Essentials
Overview:
TP-Link Cloud Essentials is a free and easy cloud-based management solution. This article introuduce how to register and set it up via web interface.
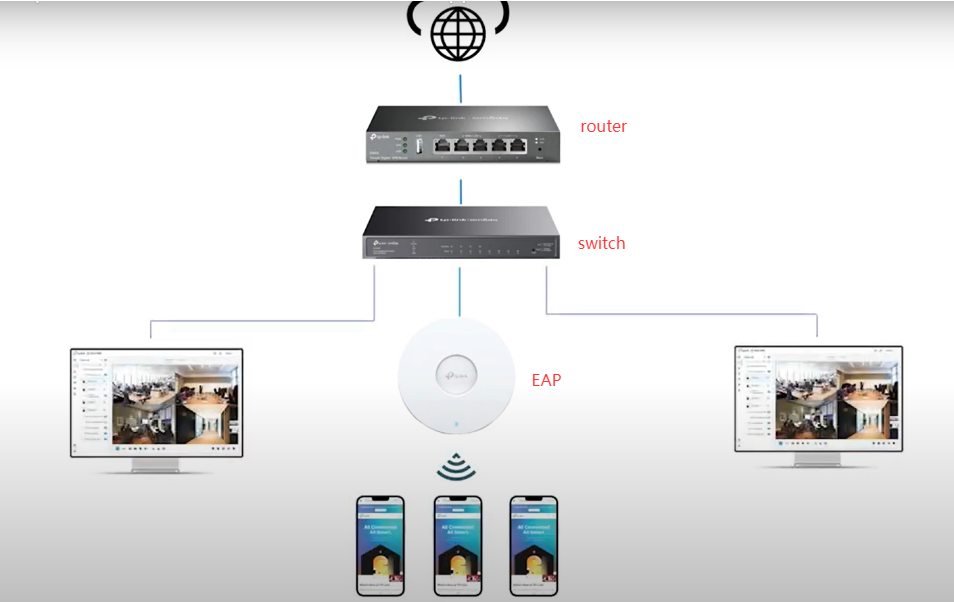
Typical Topology:
Set Up Steps
Step 1: Apply an Omada Cloud Essential
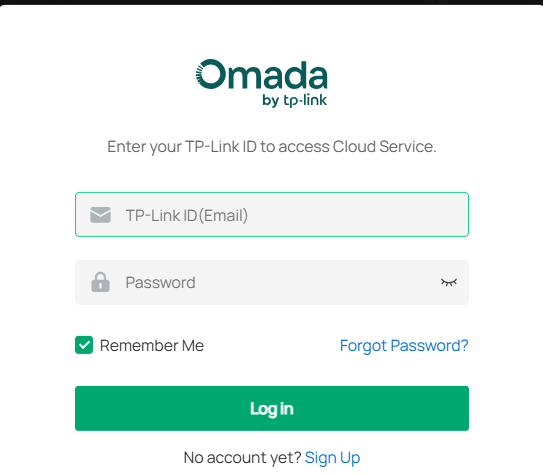
1. Go to TP-Link Omada cloud website via https://omada.tplinkcloud.com/, login with your TP-Link account:
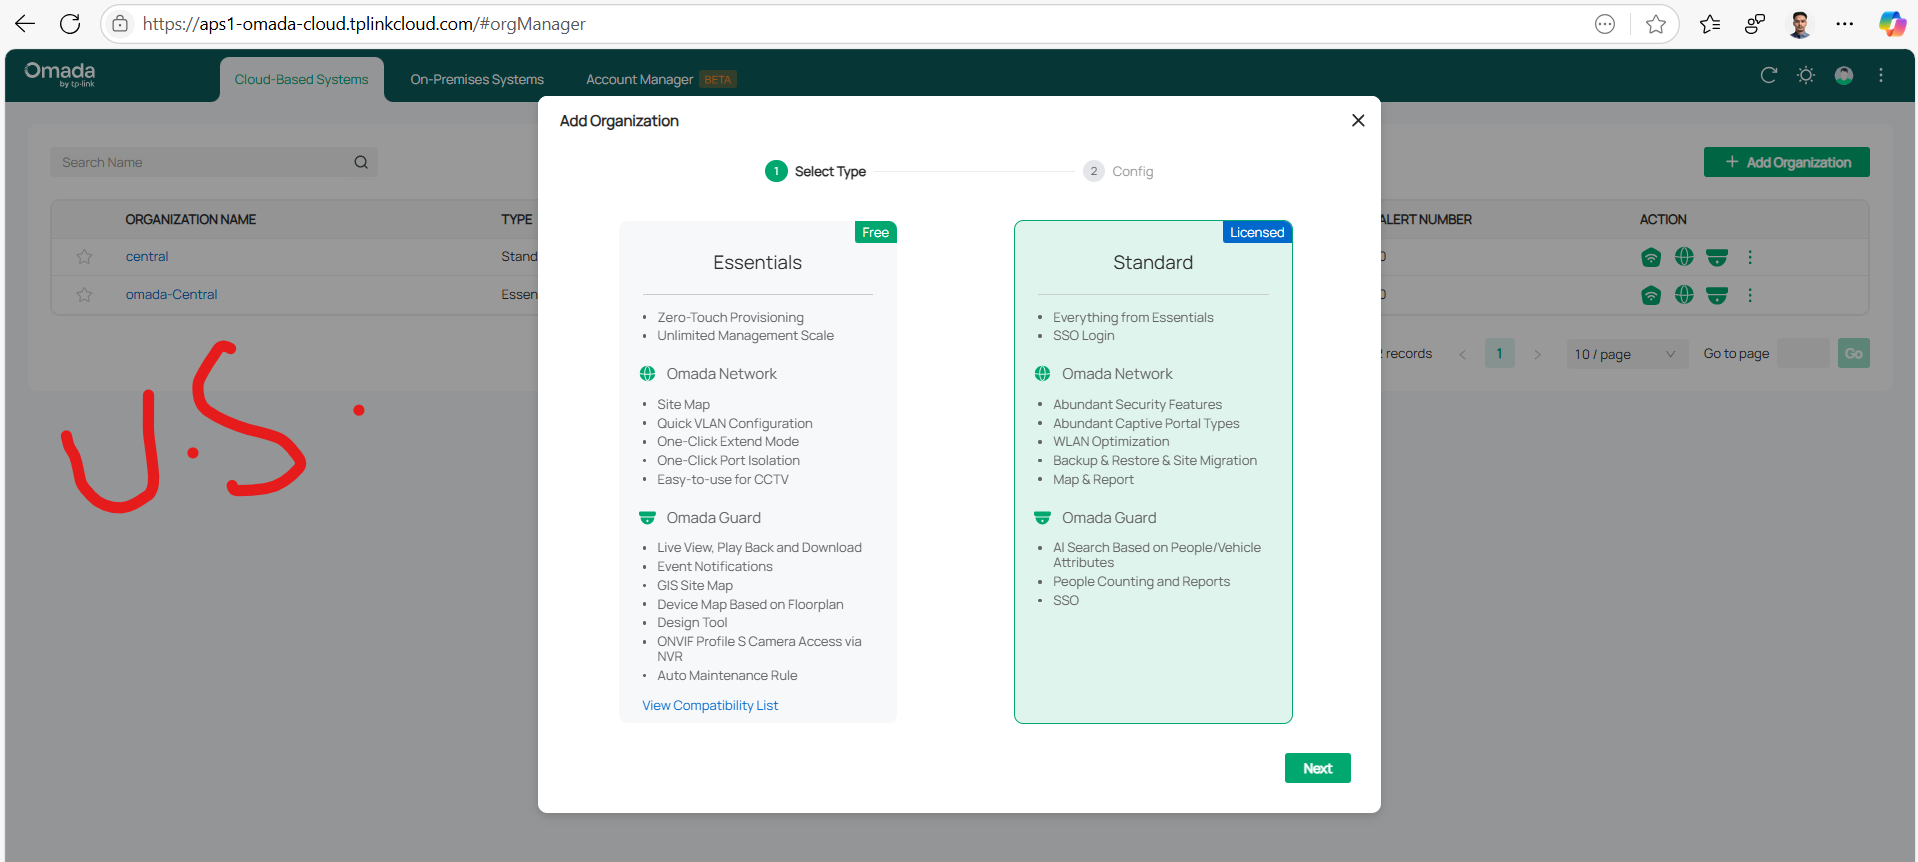
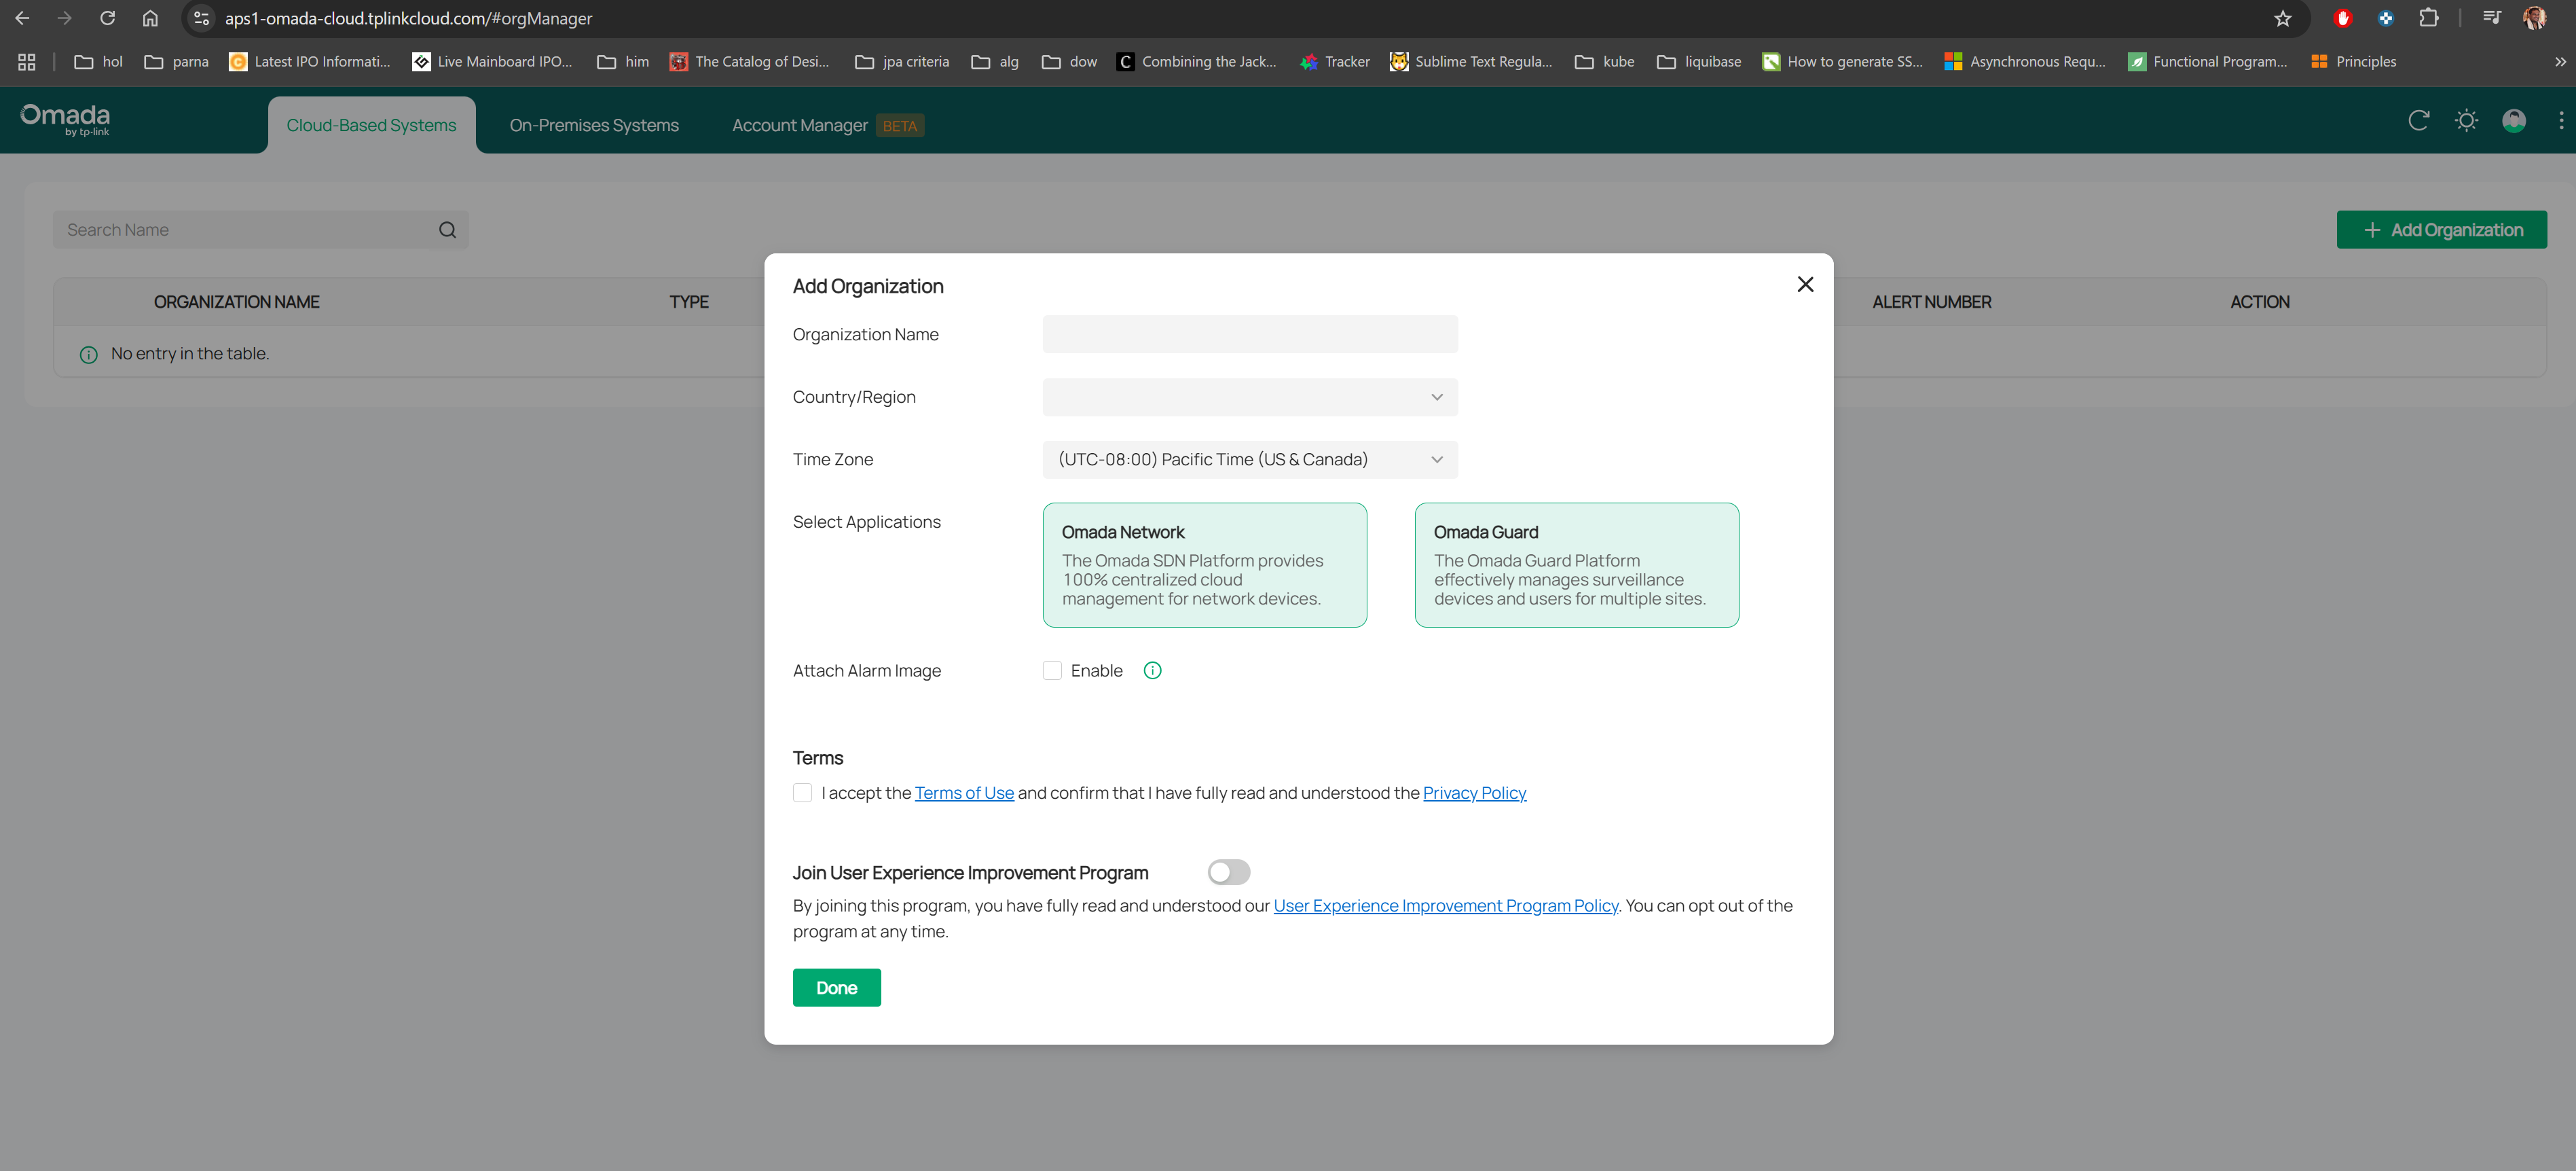
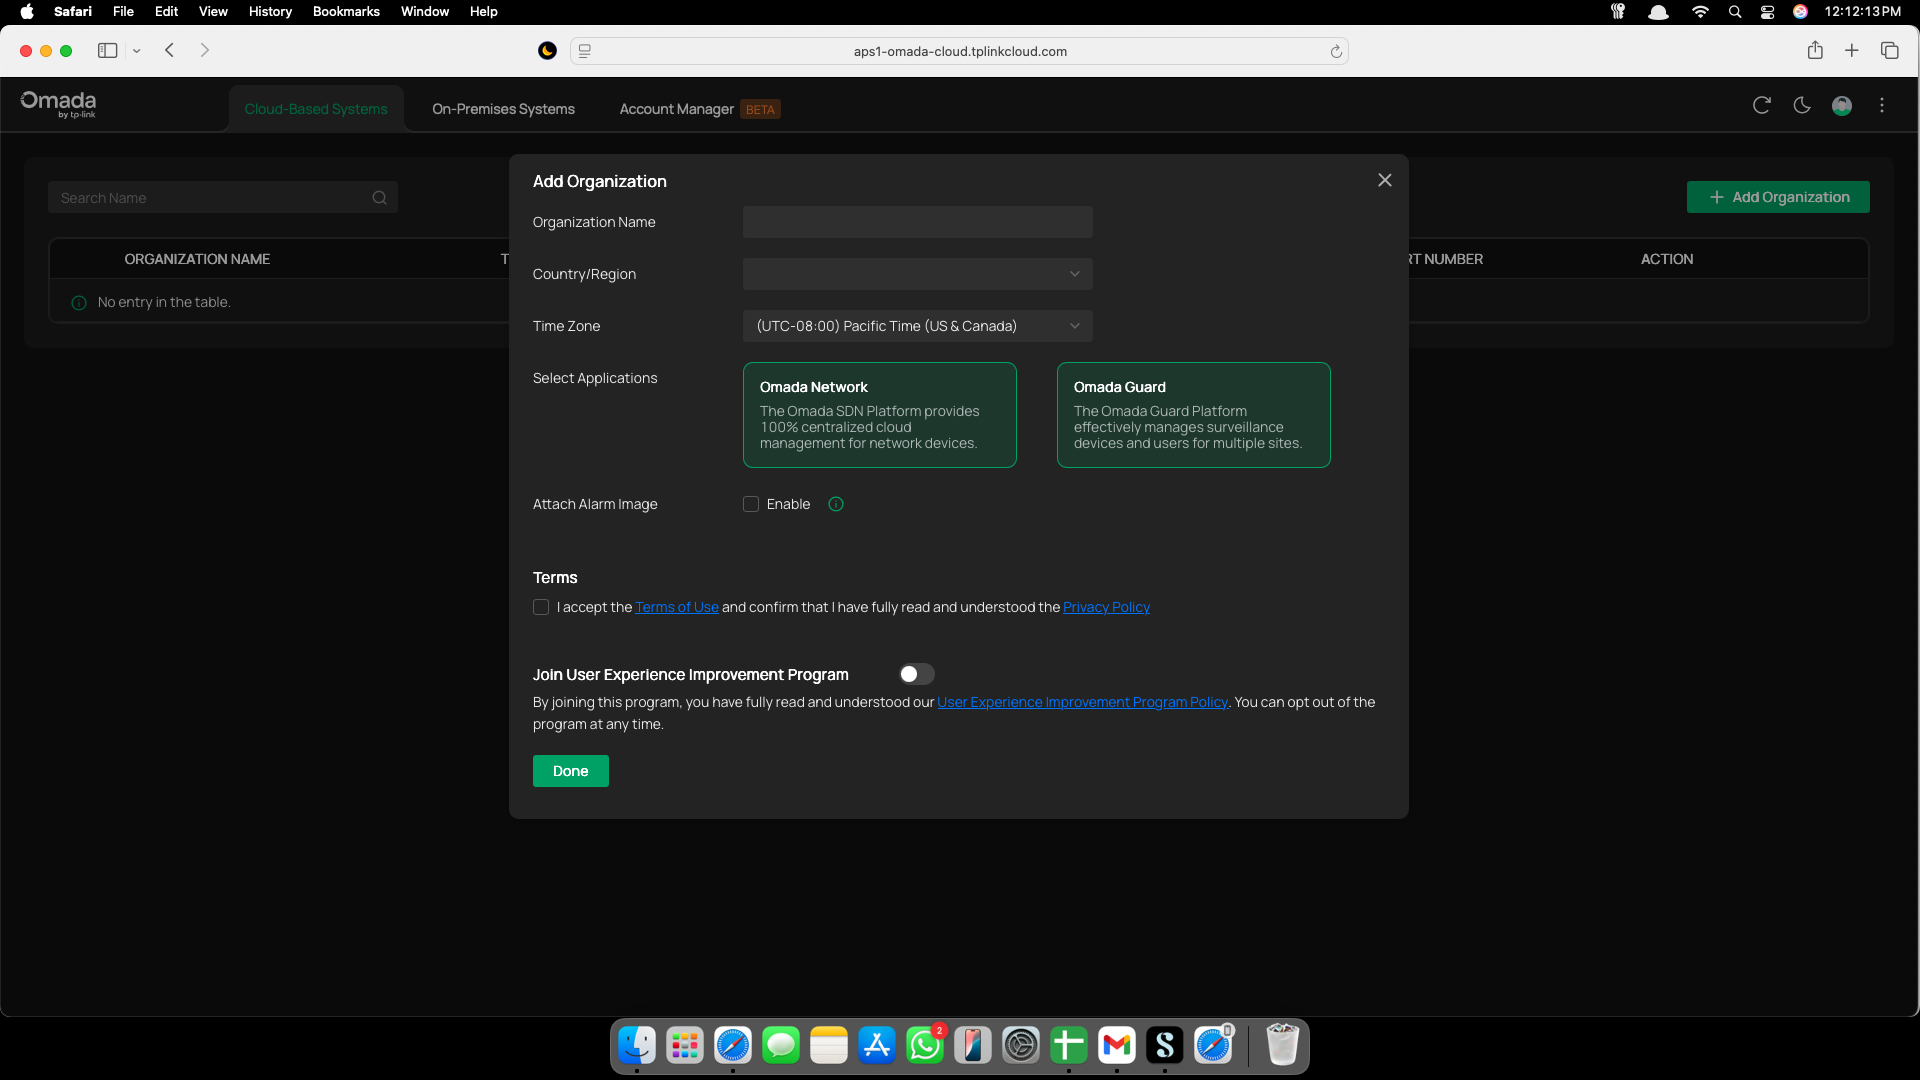
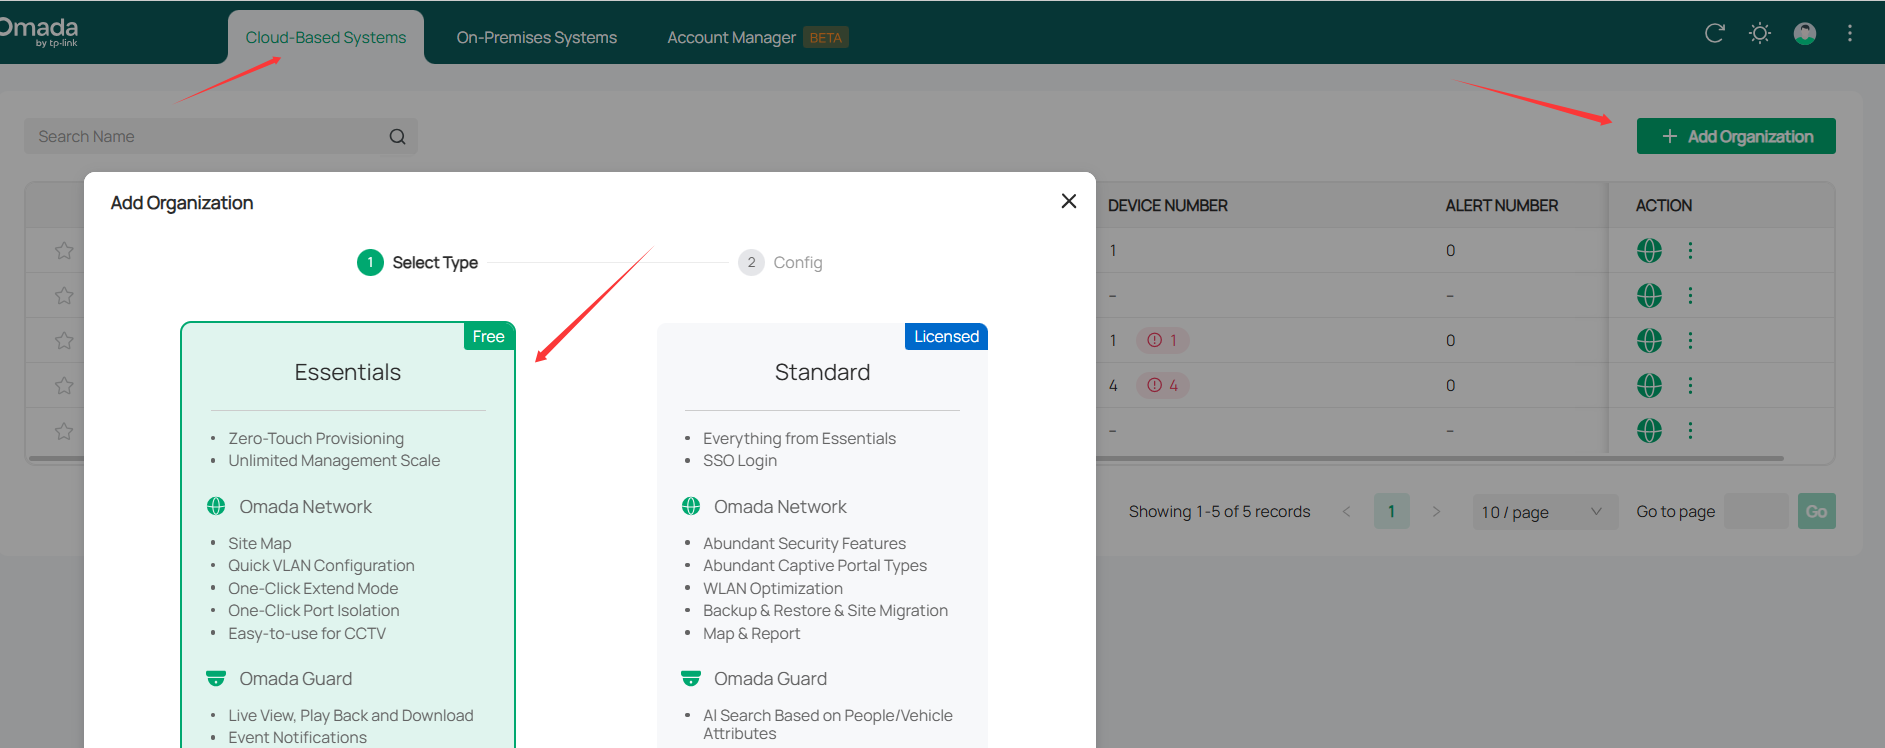
2. Omada Cloud Essentials is a kind of Cloud-Based Systems, so choose Cloud-Based Systems tab, and click Add Organization, and choose the Type as Essentials:
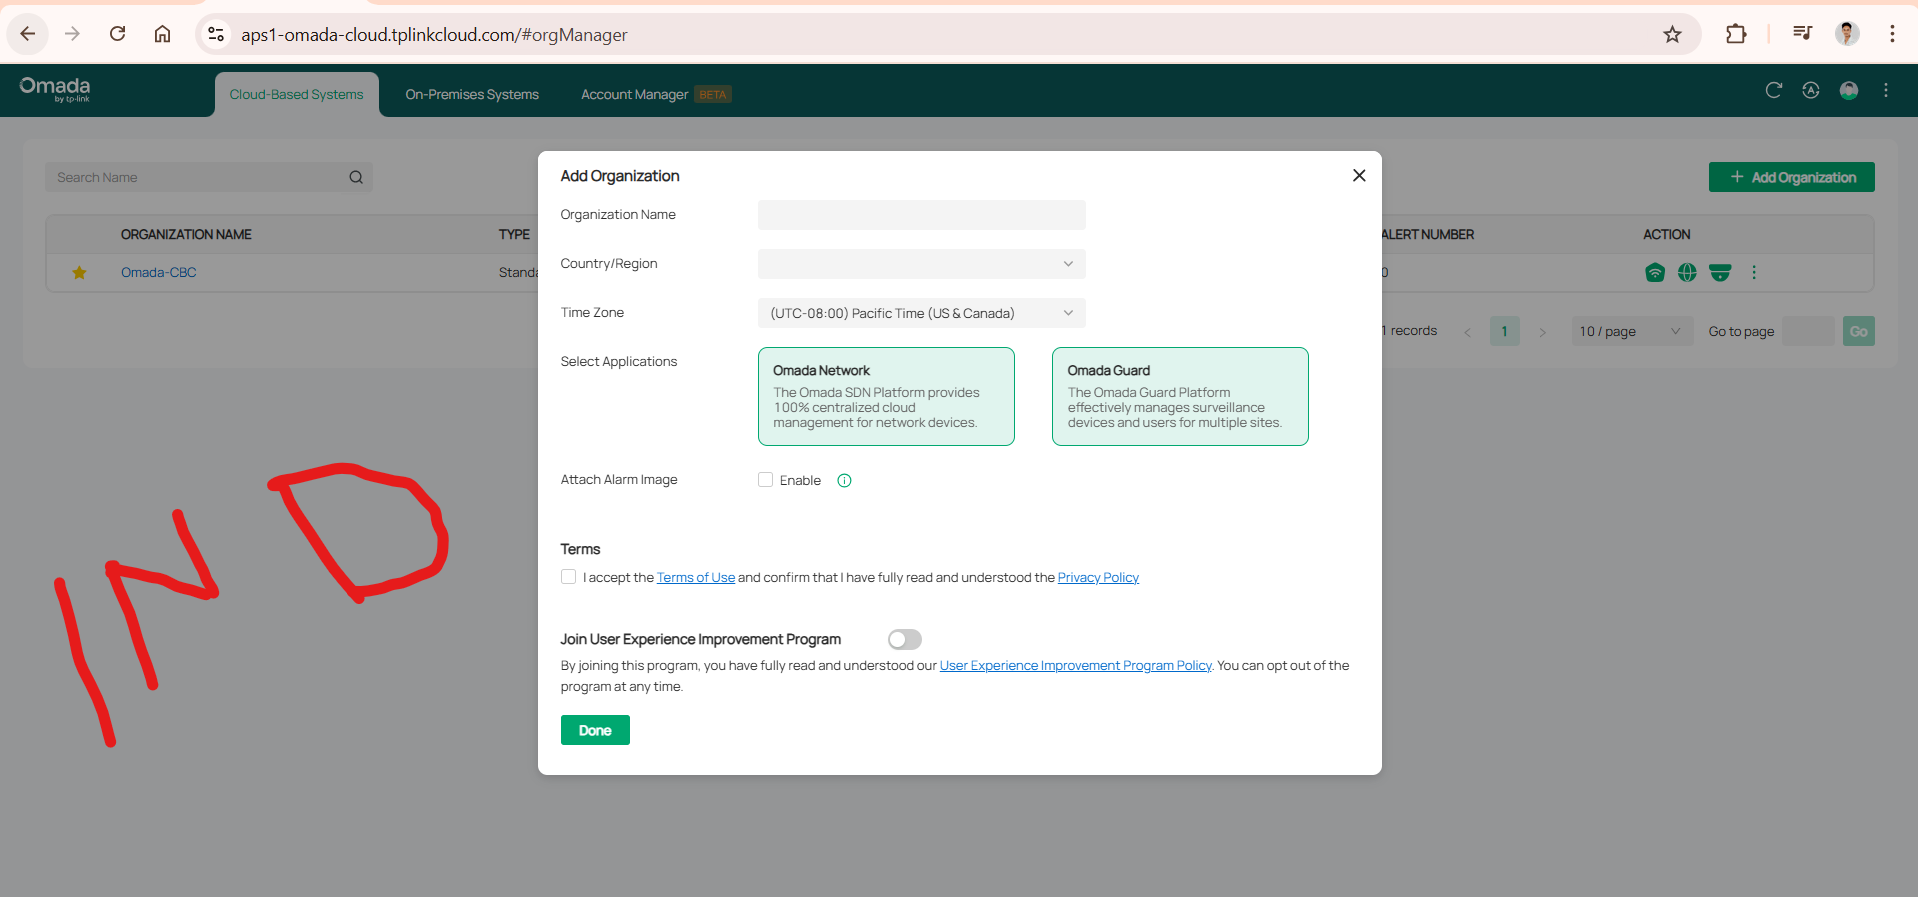
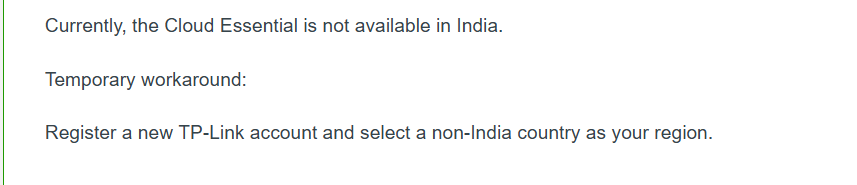
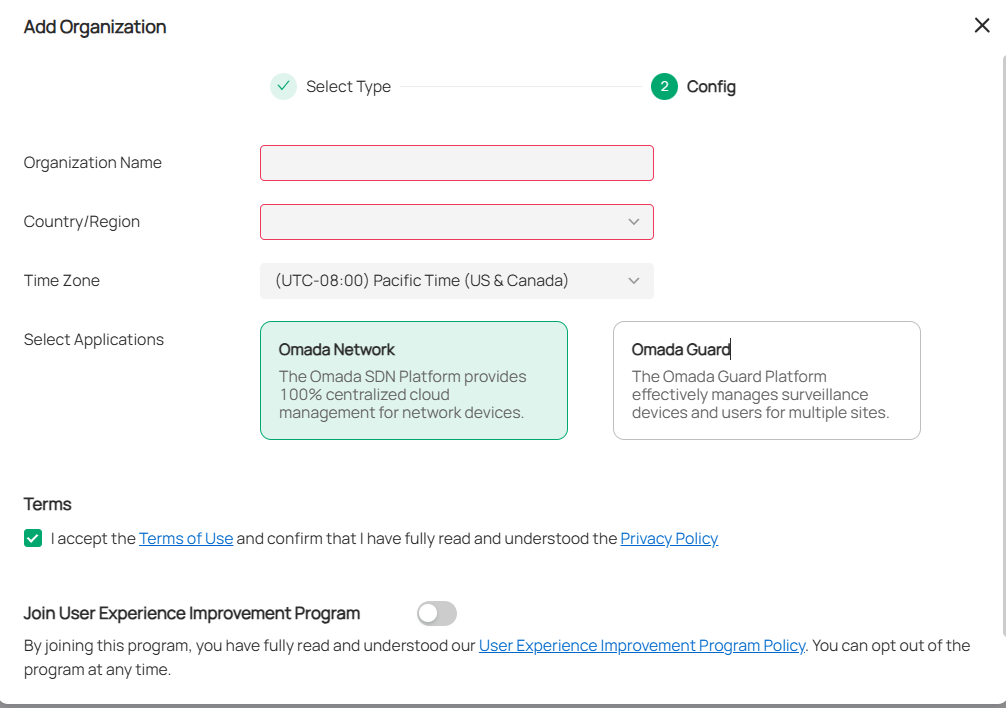
3. Enter or select the controller's basic information. You may select your country/region and time zone.
Now you will see the created Omada Cloud Essentials organization on Cloud-Based Systems page:

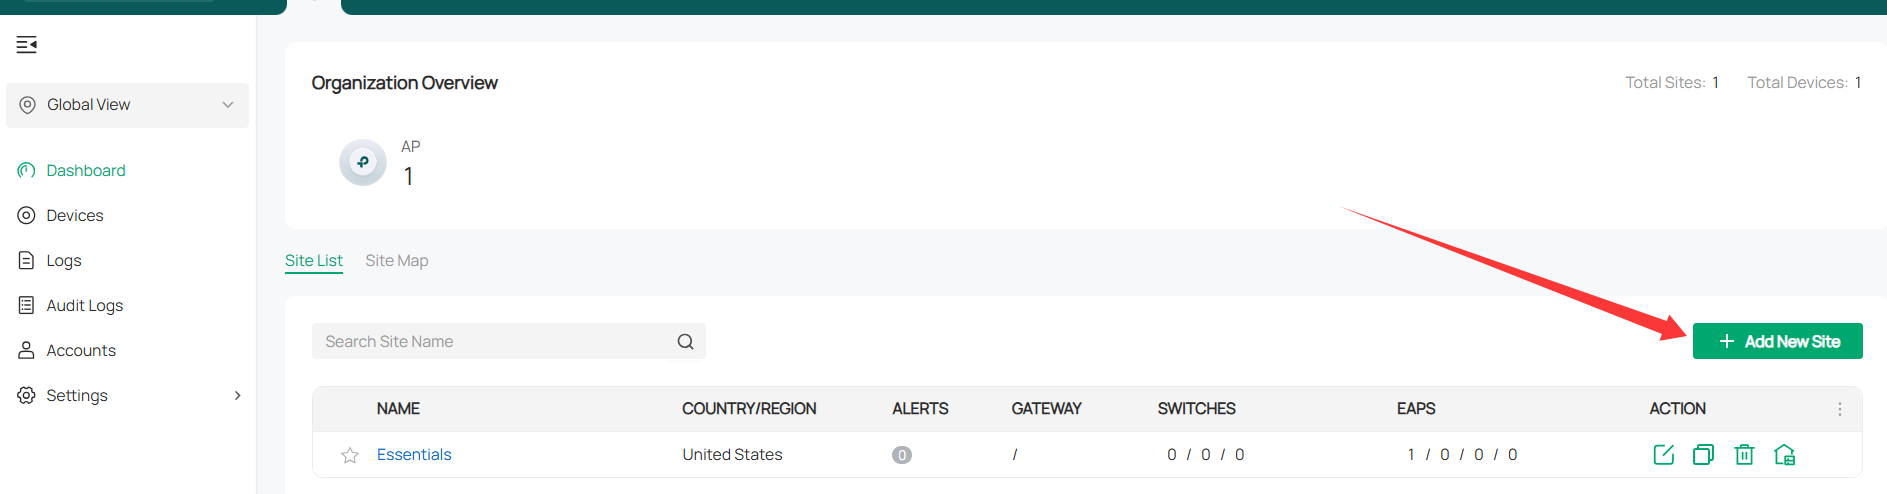
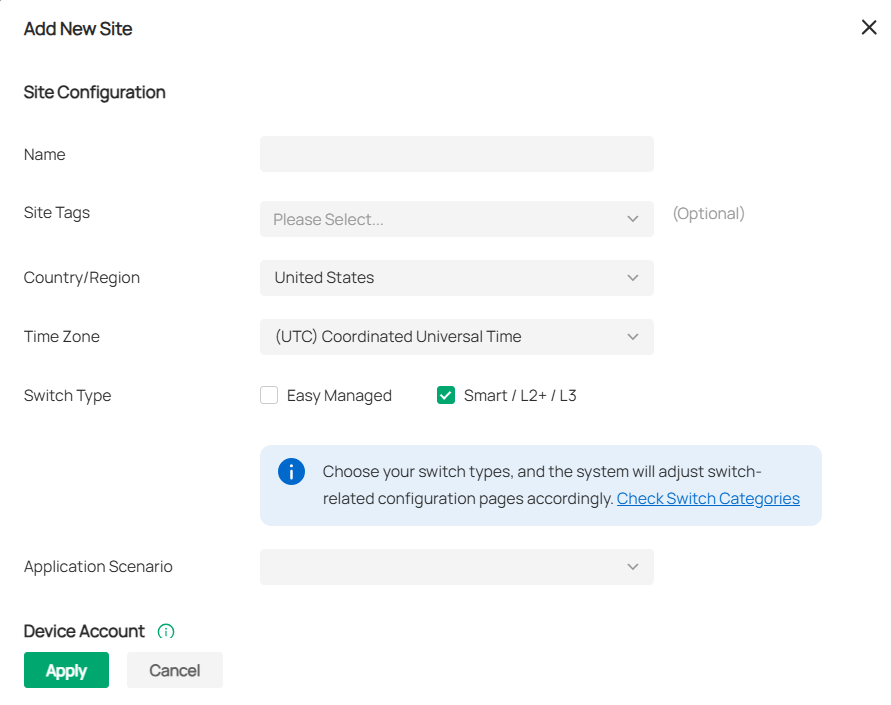
4. Create a Site to manage SDN devices: Launch the Controller we created in step1, and click Add New Site:
Enter a site name and select an application scenarioCreate an account and password.
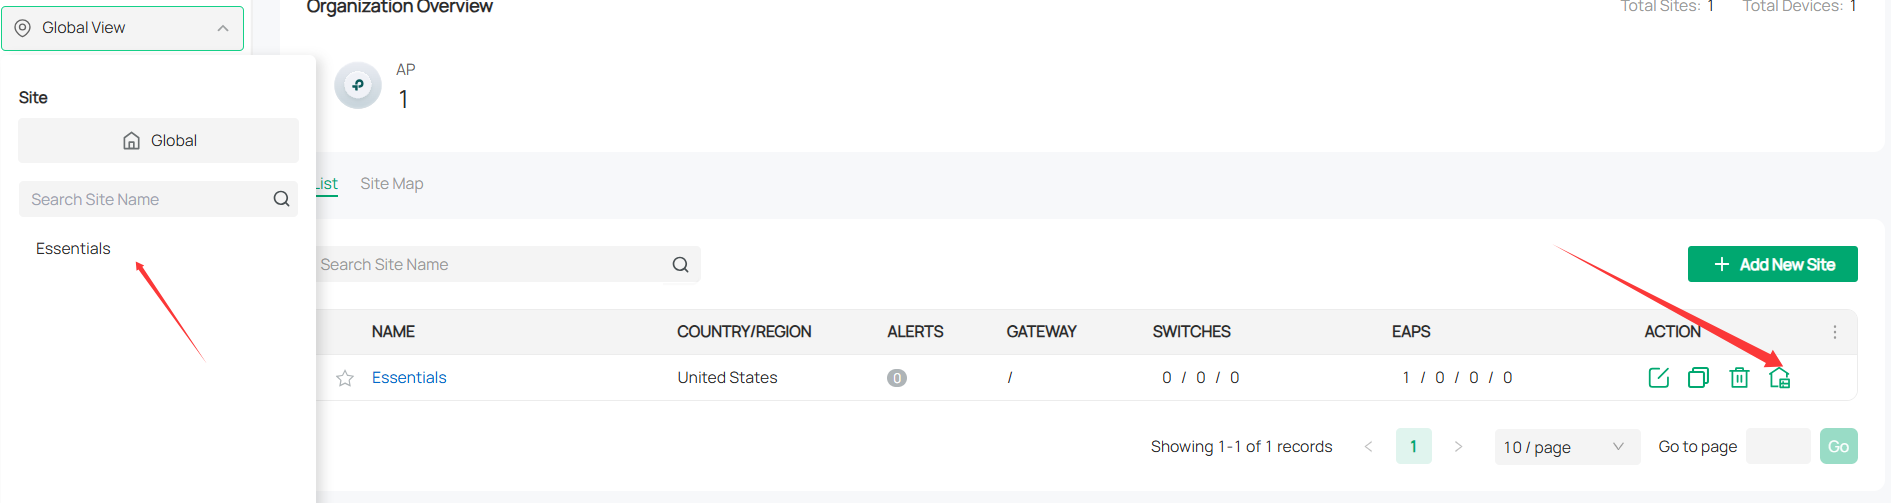
5. Click the Launch button, or choose the created site from the drop-down list of the Organization:
Step 2. Adopt Omada Devices
There are three methods to add devices:

Mode 1: Manually Add
Fill in the devices’ information to add them. The device username and password are optional when adding non-gateway devices. If they are not specified, the system will use the default account and password for adoption. But they are required when adding gateways.
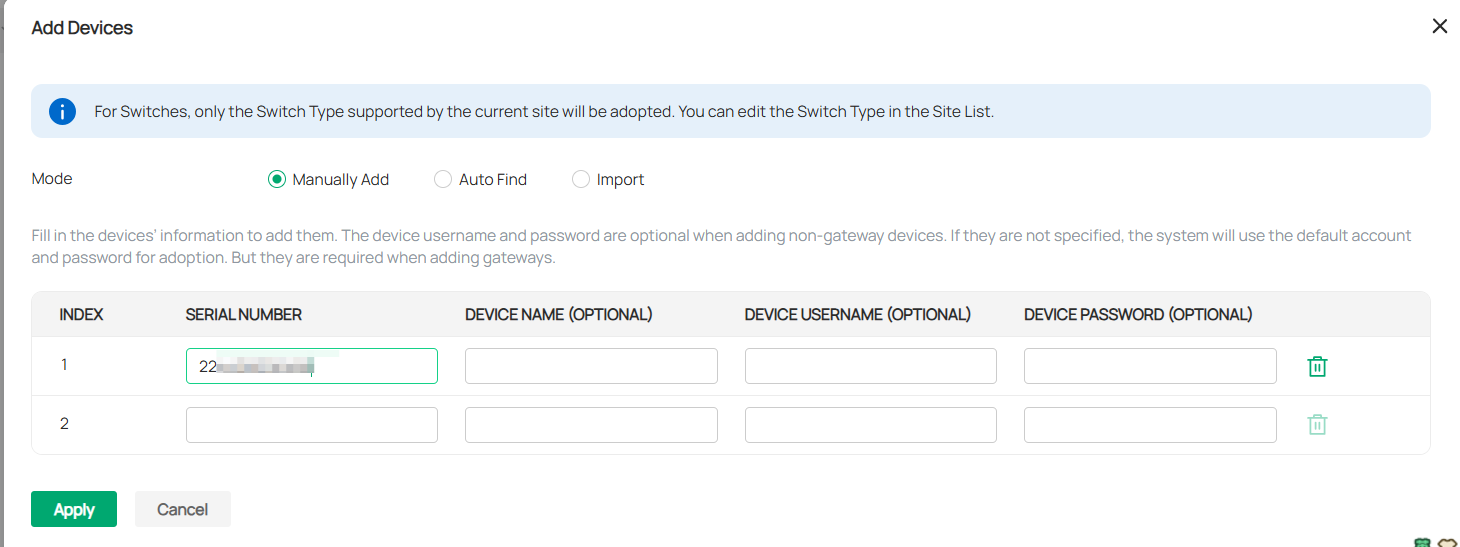
Note: To ensure a smooth device onboarding, we recommend resetting the device to factory settings before entering its serial number (SN) and waiting 5-10 minutes afterward. The device needs time to re-establish communication with the cloud.
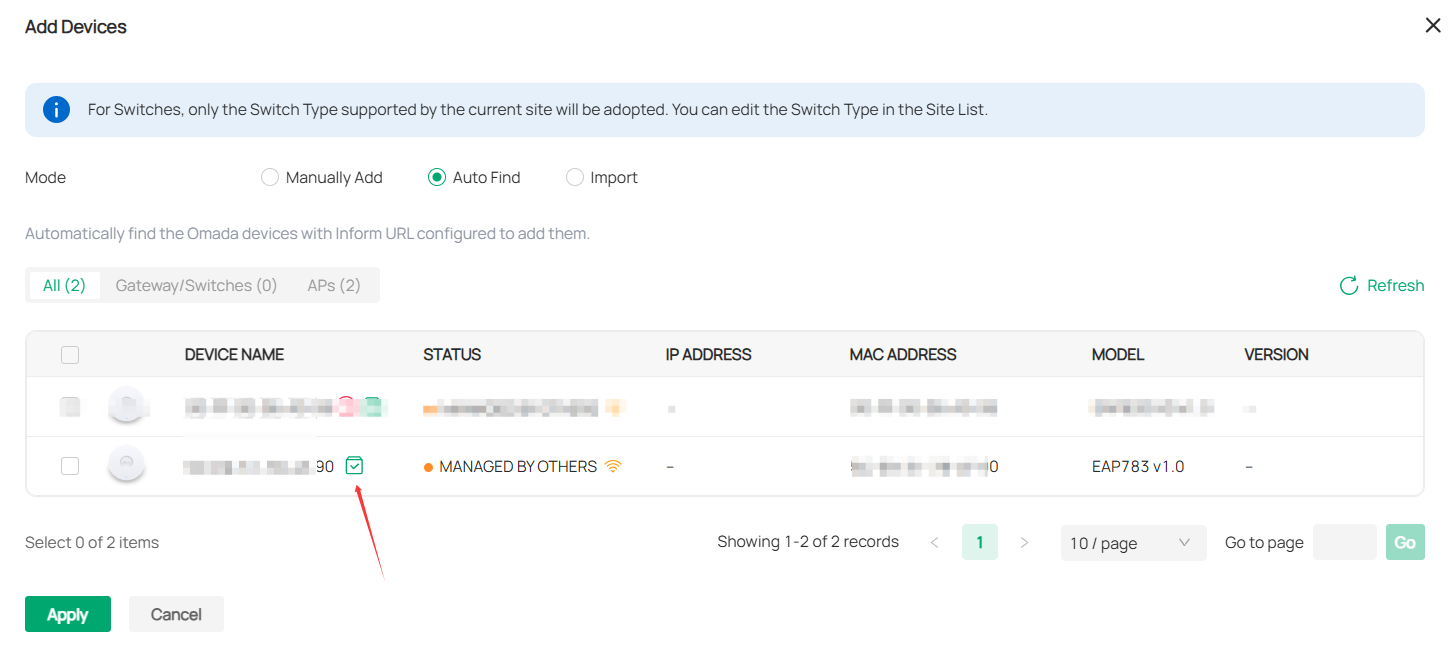
Mode 2: Auto Find:
Automatically find the Omada devices with the Inform URL configured to add them.
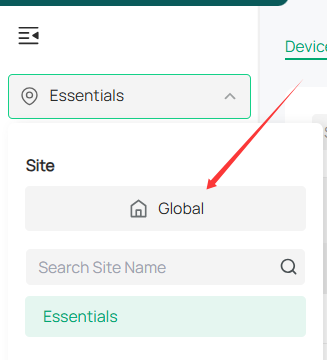
1. Find the Inform URL for the Omada Cloud Essential: click the button to go to the Global view:
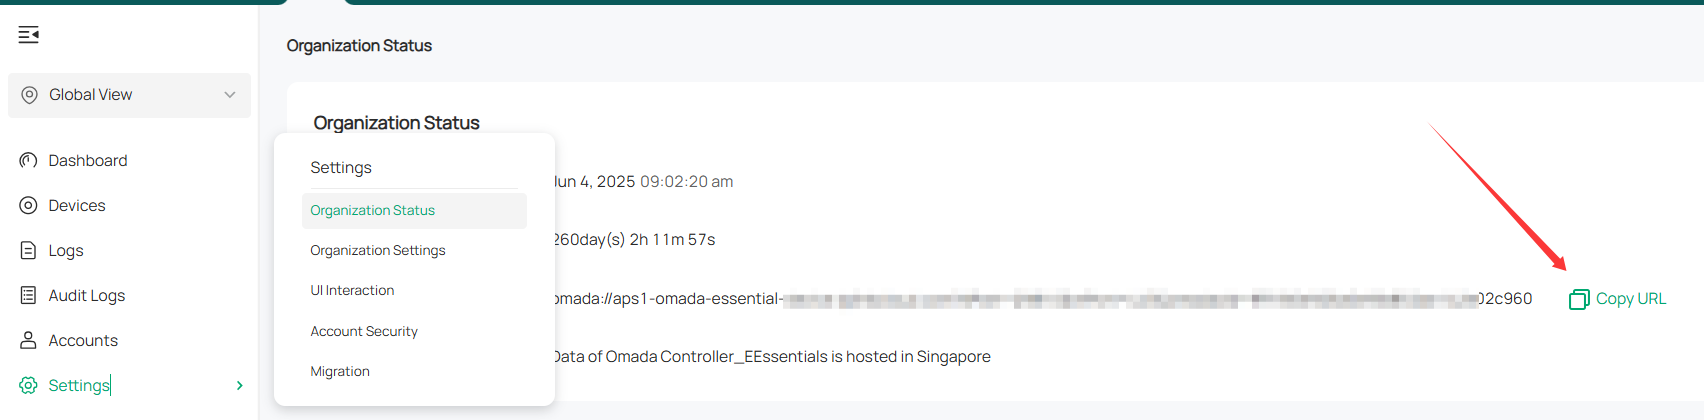
Go to Settings > Organization Status, you will see the Inform URL for this Essential controller.
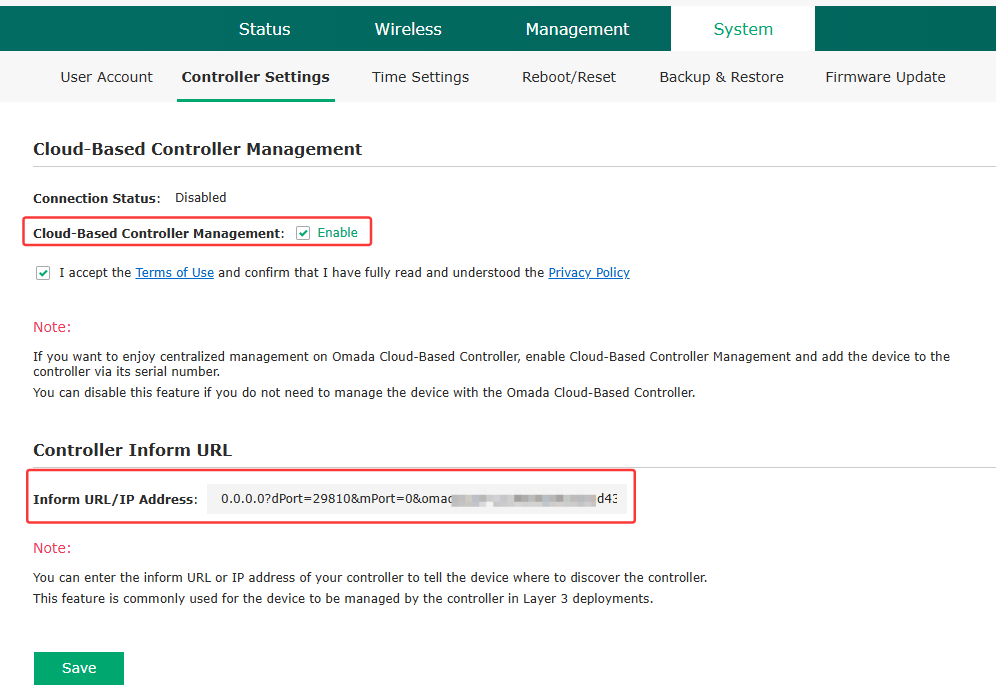
2. Fill in the Inform URL on the SDN devices' standalone interface:
Log in to the SDN devices' standalone interface and go to System > Controller Settings, enable Cloud-based Controller Management. Paste the Inform URL on the page, click Save.
3. Go to the controller's site view, and the device will be displayed on the Device list. Click the Adopt button to adopt it:
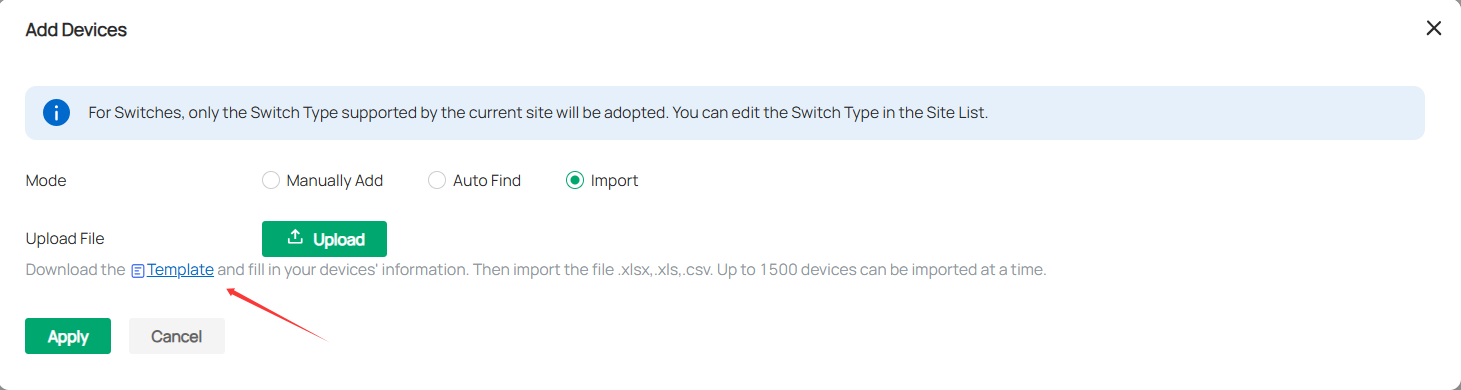
Method 3: Batch Import
1. Download the Template and fill in your devices' information. Then import the file .xlsx,.xls,.csv.

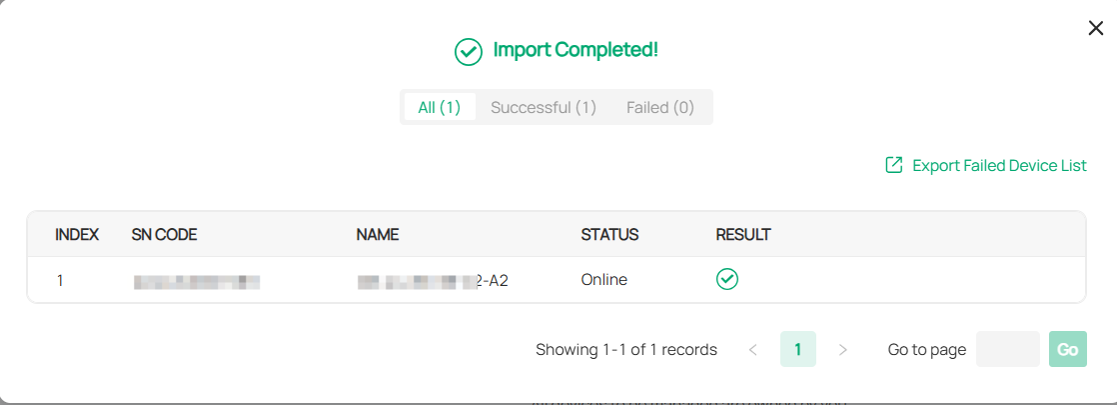
2. Click the Upload button to upload the file, and click Apply.
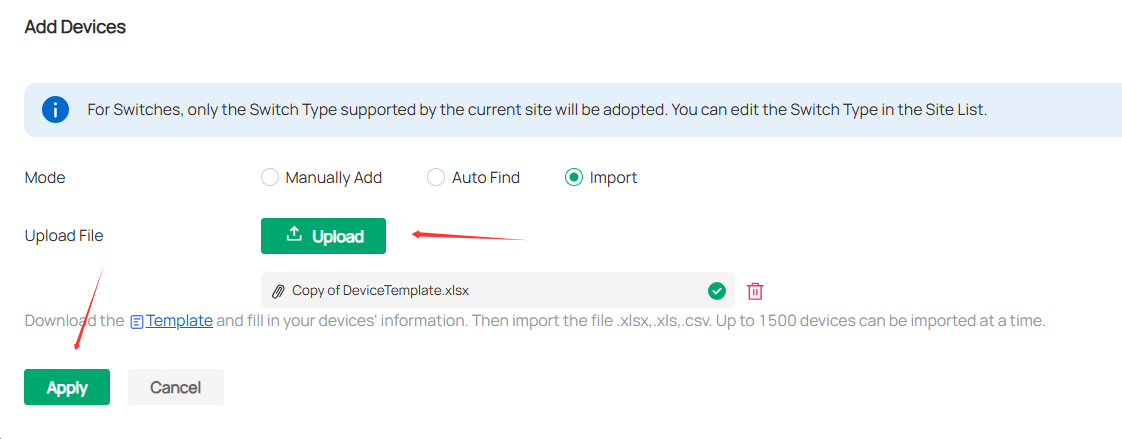
Note: Up to 1500 devices can be imported at a time.
3. Go to the Device page and adopt the imported devices.
Step 3. Manage your network
You may view the topology and explore quick configuration features, such as SSID config, Map, etc.
Here we take creating a wifi network as an example. Settings > WLAN > Create New Wireless Network

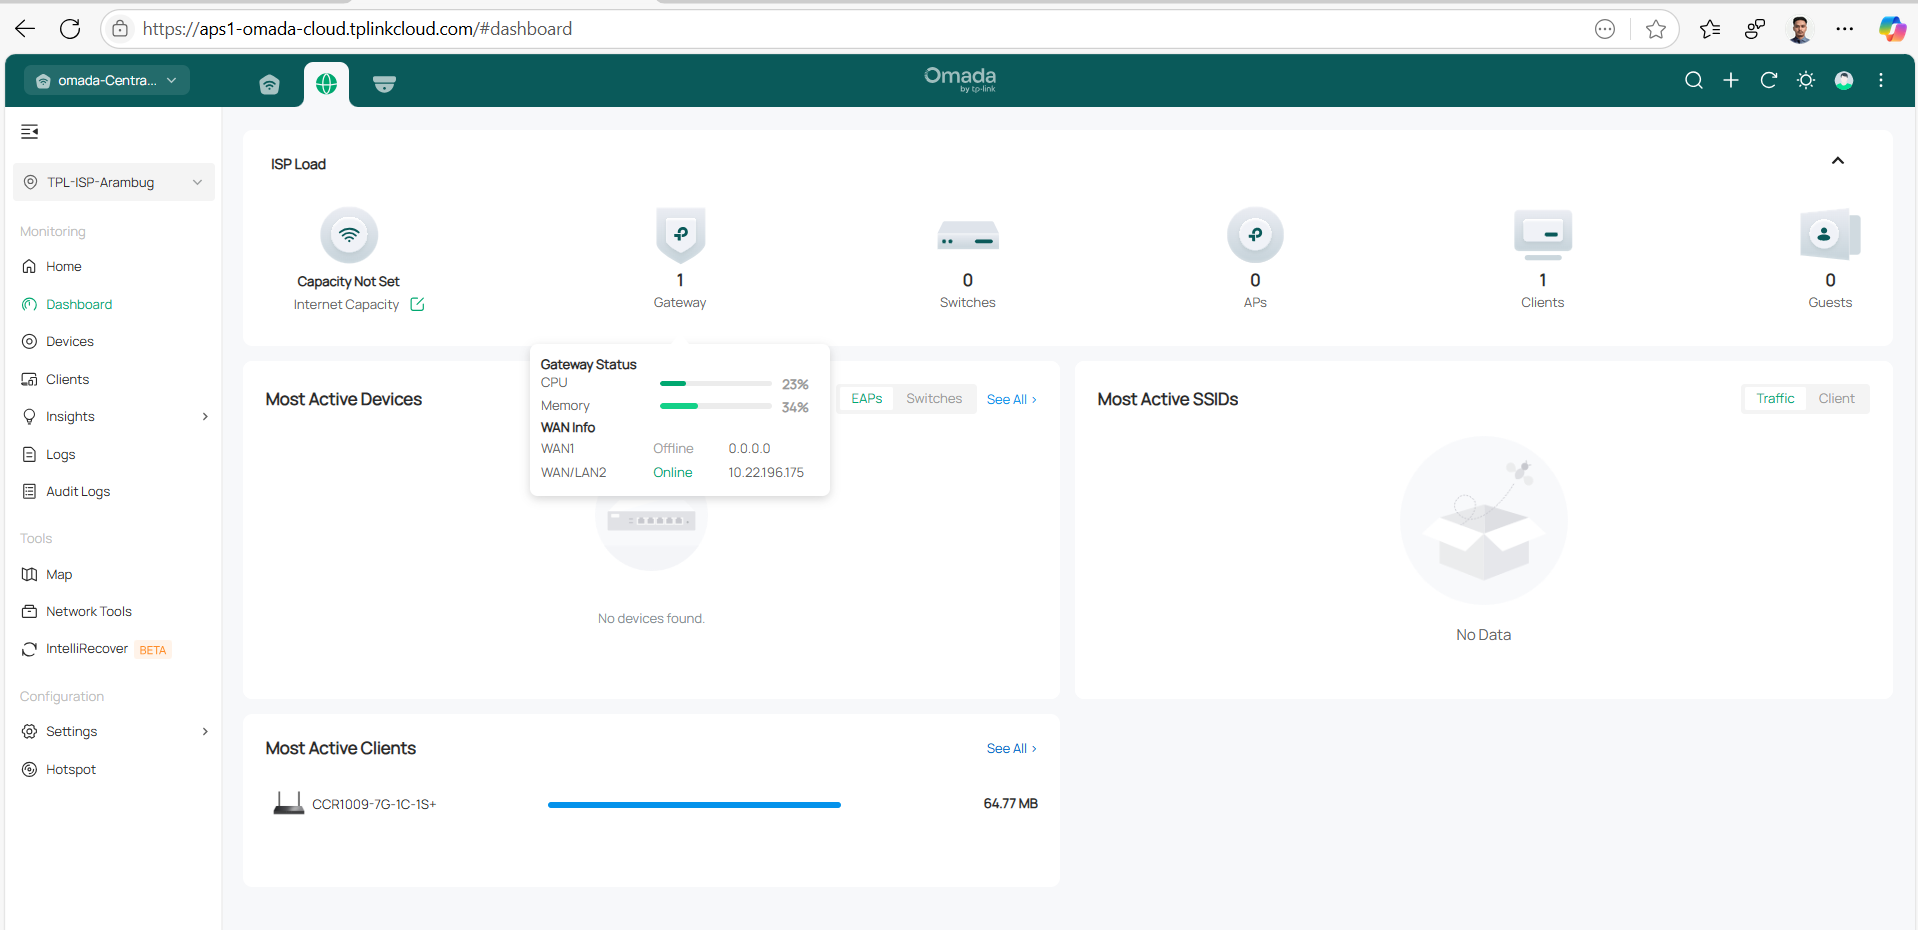
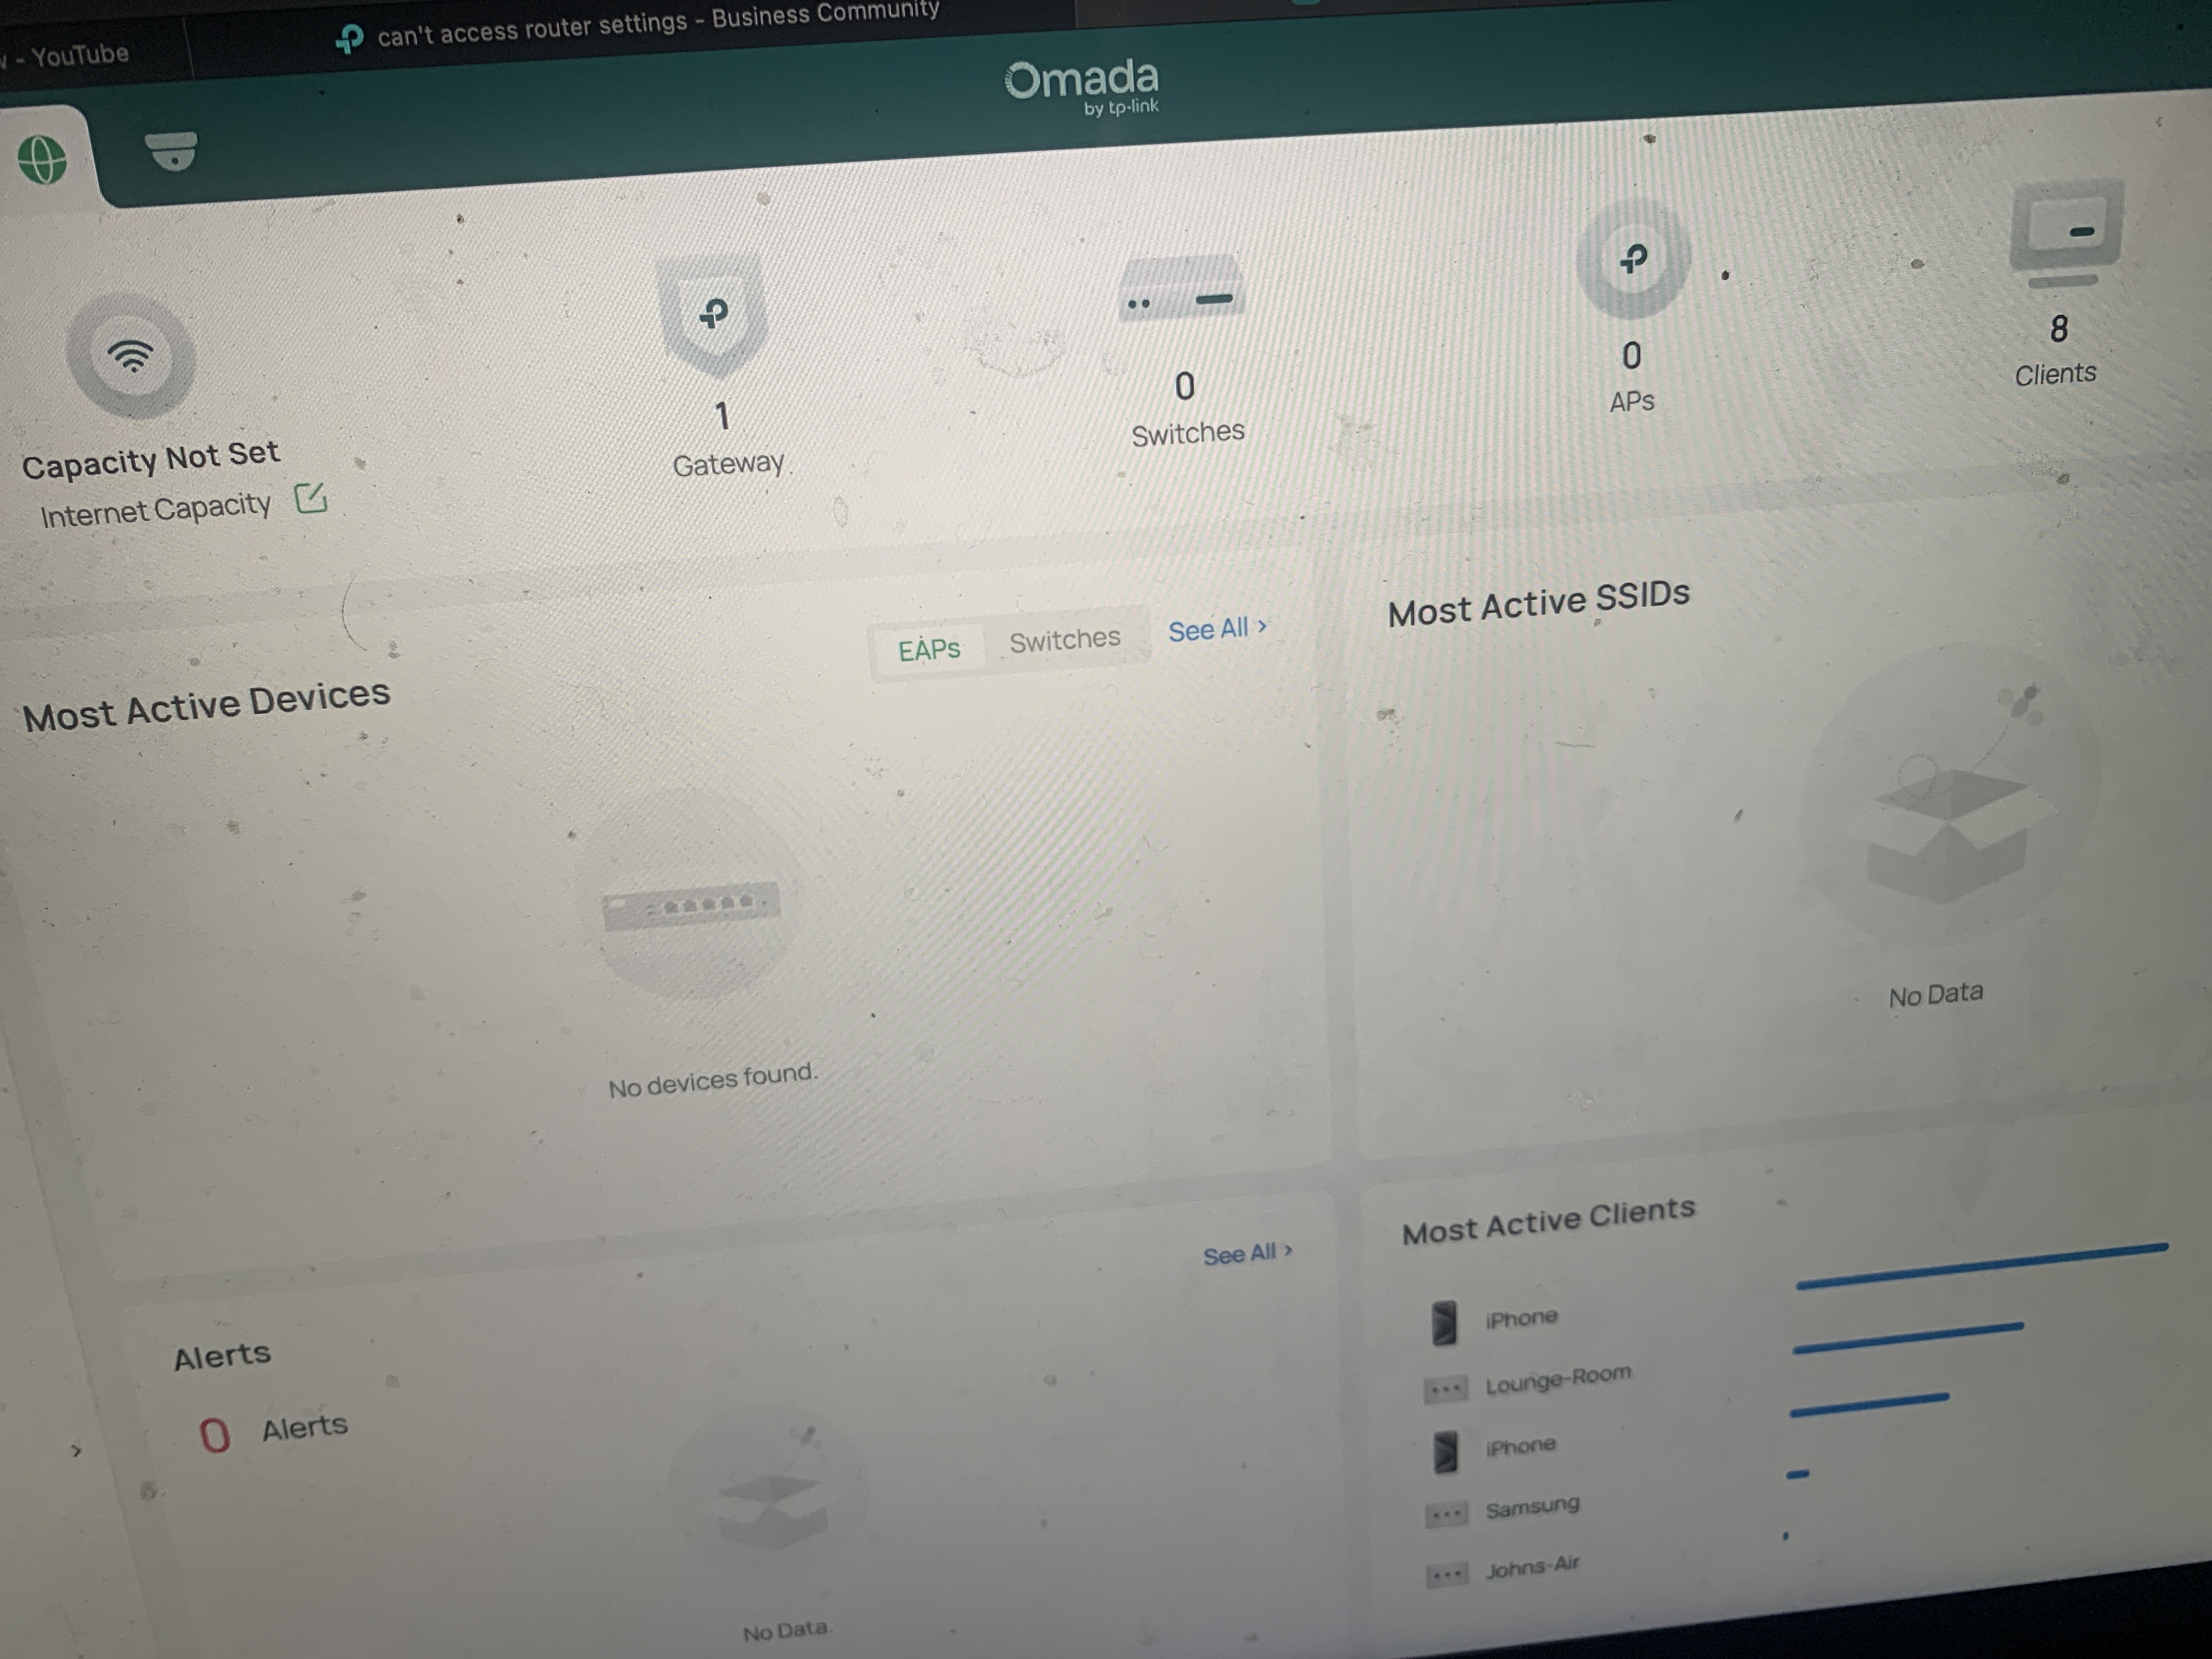
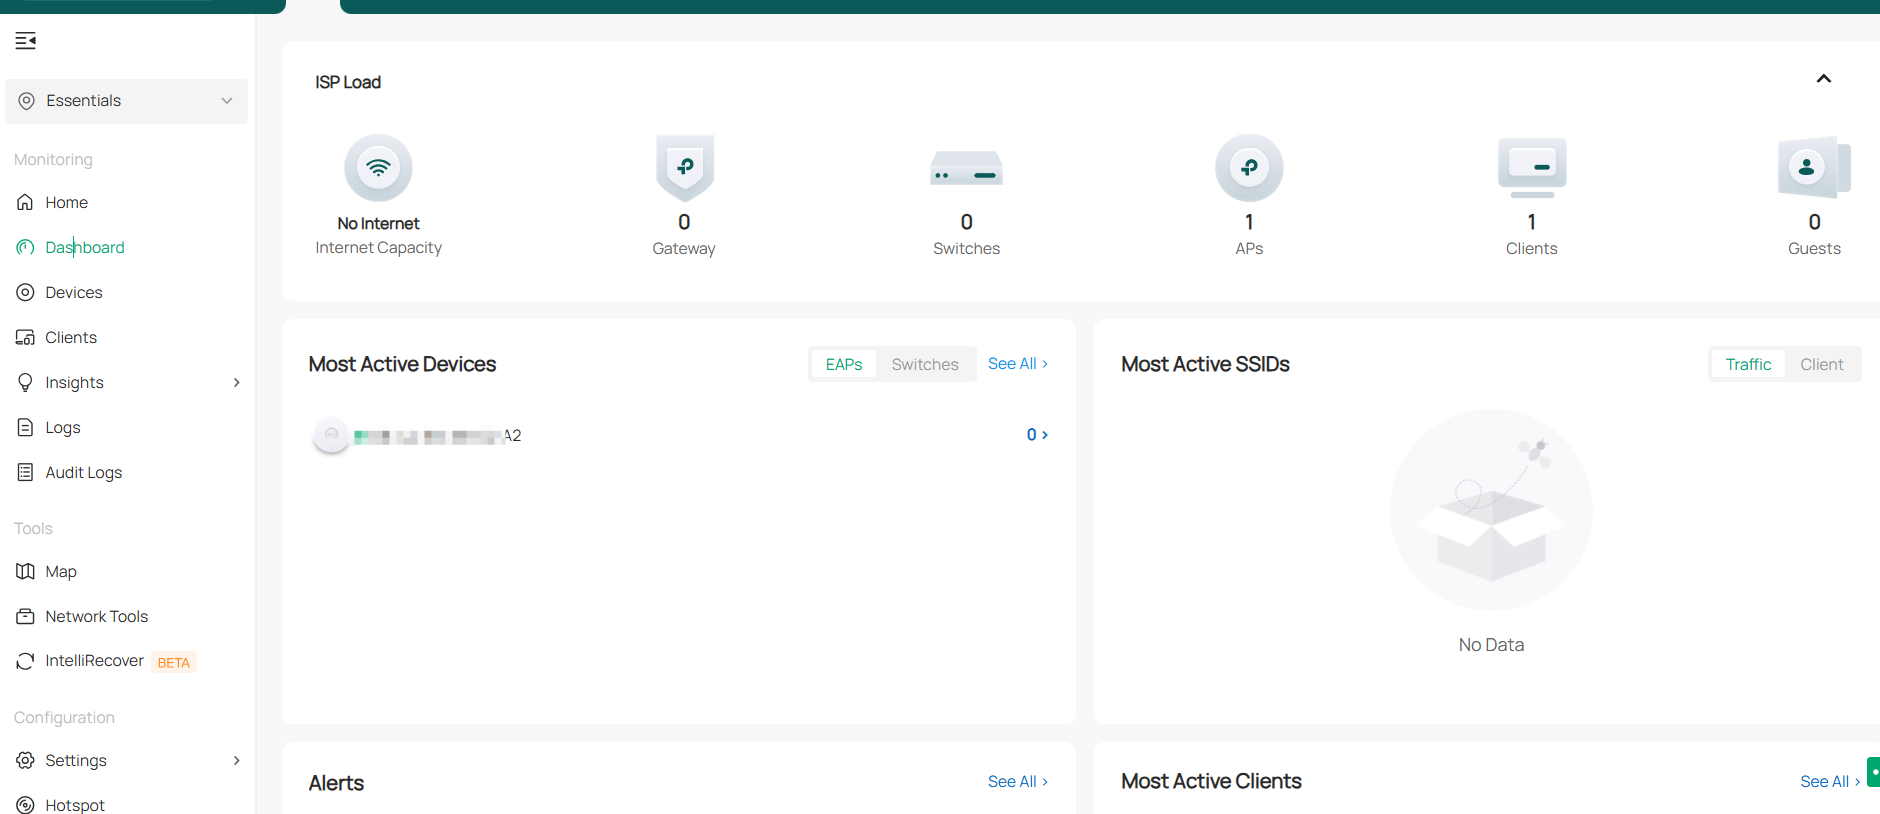
Go to the Dashboard and monitor the alerts, traffic data, and clients.
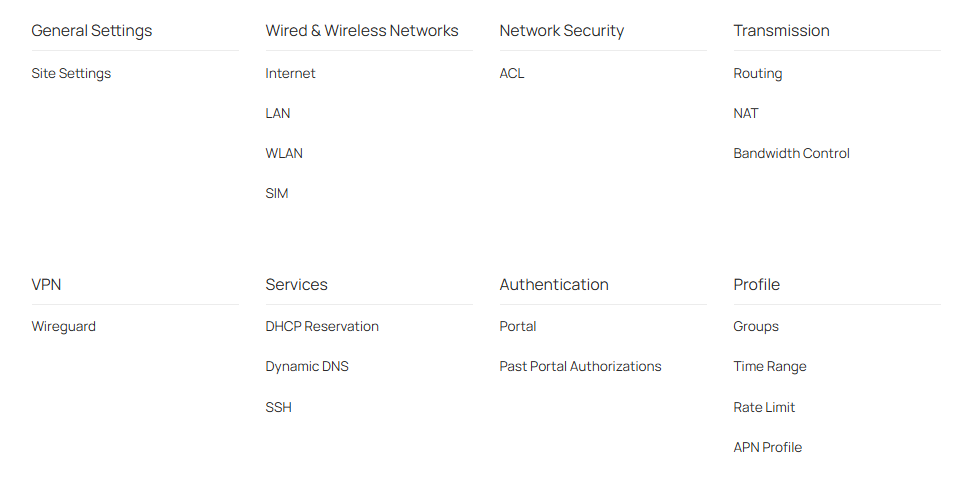
Go to Settings to see more configuration options:
Feedback:
- If this was helpful, welcome to give us Kudos by clicking the upward triangle below.
- If there is anything unclear in this solution post, please feel free to comment below.
Thank you in advance for your valuable feedback!
------------------------------------------------------------------------------------------------
Have other off-topic issues to report?
Welcome to > Start a New Thread < and elaborate on the issue for assistance.