Basic Installation Steps
Preparation:
Please refer to the Quick Installation Guide included in the product package to properly connect the hardware.
Note: please make sure you are able to access internet with a direct connection between your computer and cable modem. If the direct connection doesn’t work, please contact your Internet Service Provider.
If you are unable to access the internet please try the following steps:
(The Archer A7 is used as an example in this case)
Step 1
Log in to the router’s web-based interface. For login instructions, please refer to the article How to log in to the web-based interface of Wi-Fi Routers (new logo)?
Step 2
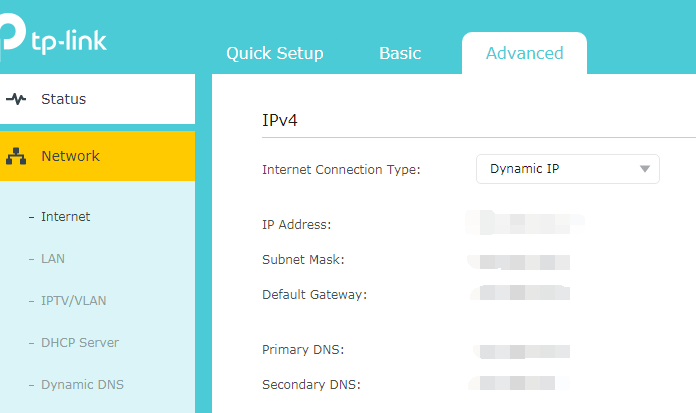
Configure the Internet (or WAN) Connection Type:
Select Dynamic IP as the Internet Connection Type on the right of the web page, as shown below, then click Save.
Step 3
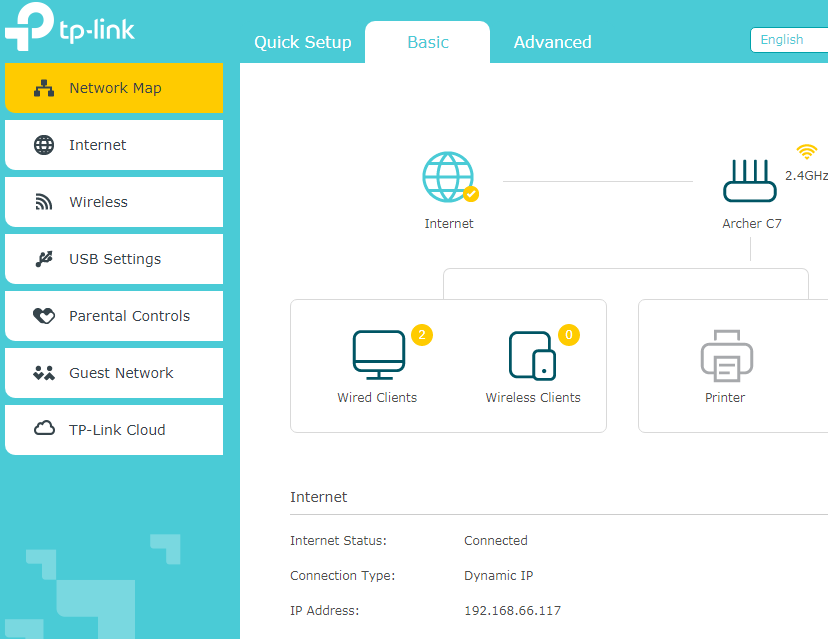
Wait a few minutes, then check the Internet section of the Status page. If it lists an IP address, this means the connection between the Router and the Modem is established. If there is no IP address, please move to step 4.
Step 4
If there is still no IP address, please try the following:
- Restart the router first, wait for about 10 seconds, and connect your end-device (i.e. computer or laptop) to the router.
- Power off the modem and unscrew the coaxial cable.
- Power on the modem, wait a few moments, then check the status LEDs on the Router. Make sure the WAN/Internet LED
 is on.
 - Reconnect the coaxial cable to the modem and check if you are able to access the internet.
Note: Some cable modems have a back-up battery. To completely restart the cable modem, please take the battery out, then unplug the power source.