Setting Up Your Camera
Setting Up Your Tapo Camera
This article applies to: TC60, TC70, Tapo C100, Tapo C200, Tapo C310. A Tapo C200 is used as an example.
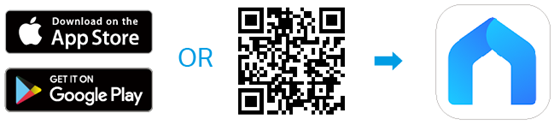
Step 1. Download the Tapo App
Get the Tapo app from the Apple App Store or Google Play, or by scanning the QR code below.
Note: The location permission is needed to find and connect to your camera during the setup. Grant the location permission when prompted and you can disable it after the setup.
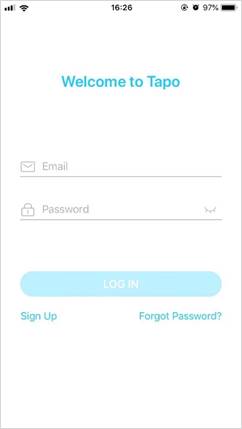
Step 2. Log Into your TP-Link Account
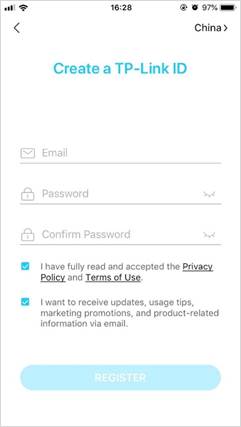
Open the app, and log in with your TP-Link ID. If you don't have an account, create one first.
Then, Follow the In-App Instructions To Complete Setup
3. Start the Setup Process By Tapping the '+' in the Upper Right
Select the Type of Device that you would like to configure from the left menu,
Then Select the Model of Device that you are setting up.


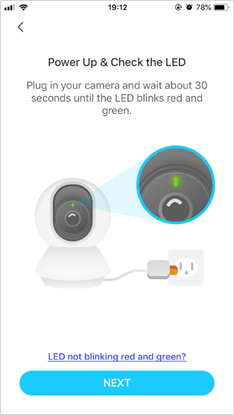
2. Plug In Your Camera
Then wait about 30 seconds until the LED blinks red and green. Click Next.
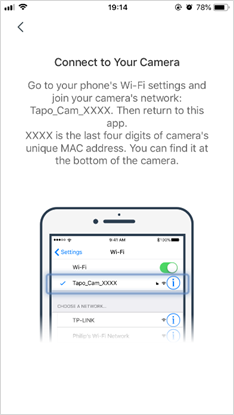
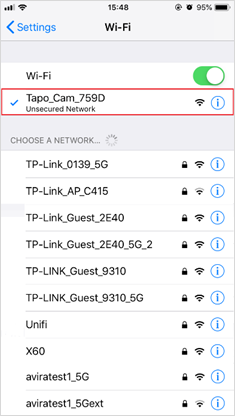
3. Connect Your Phone to the Camera's Wi-Fi Network
From Your Phone Settings, connect to the camera's network. This should be in the form of "Tapo_Cam_XXXX"
Return to the Tapo App After Confirming that you are connected to your camera.
If your phone does not want to stay connected to the network, try to disable your mobile phone connection, any VPNs that are active on your phone, and that the camera's light is indicating that the device is ready for configuration.
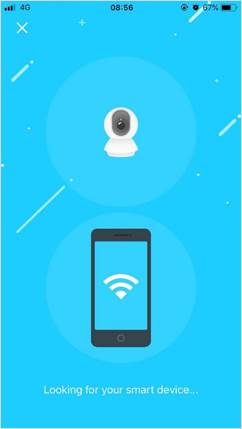
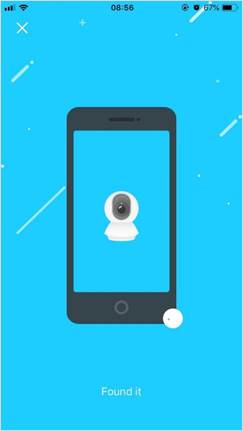
4. Wait for the Tapo App to Find Your Camera
Please be patient as this may take a minute or two and Ensure that you do not move away from the device at this time.
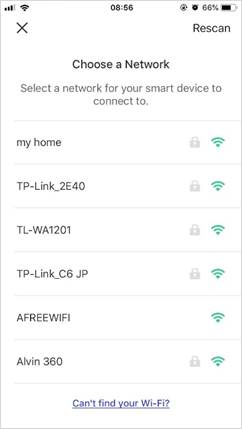
5. Connect the Camera to Your Home Wi-Fi Network
After the camera is found, connect the camera to your home Wi-Fi network and enter the password.
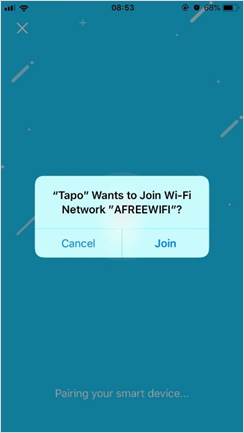
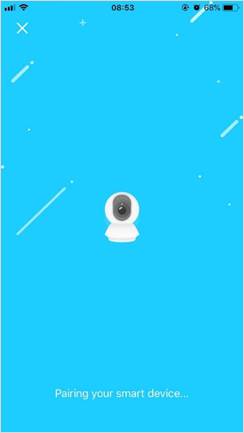
6. Select 'Join' on the Pop-Up Window That Appears
This will start pairing your camera to your wifi network and TP-Link ID
Ensure that the LED stays solid throughout the pairing process.
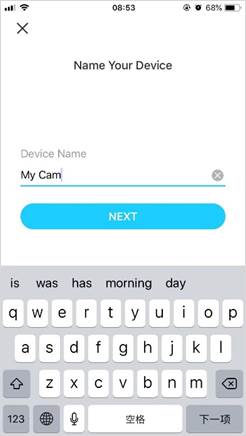
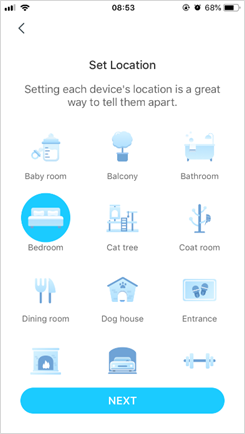
7. Give Your Camera a Unique Name and Set a Location
Then click next to confirm your settings for the camera.
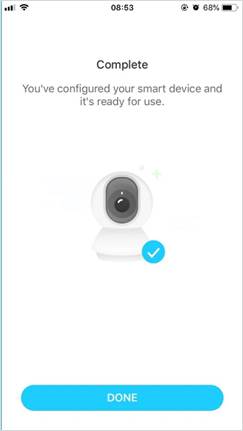
8. Tap 'Done' to Confirm that the Camera has been Added to Your Home.
The “Complete” page means the camera is successfully added
Tap Done to start using your camera.